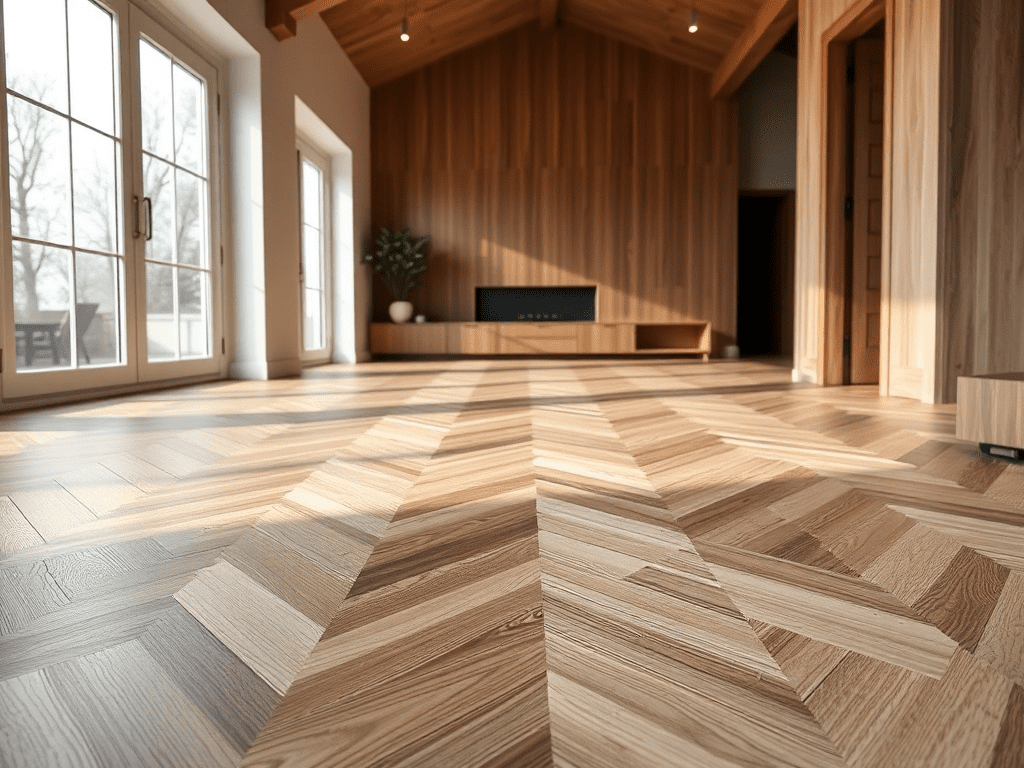
Discover the timeless elegance of a herringbone wood floor with our expert guide to DIY installation. Achieving this sophisticated look might seem daunting, but with the right tools, preparation, and a bit of patience, you can transform your space into a showstopper. This guide provides a comprehensive walkthrough of diy herringbone wood floor installation, covering everything from subfloor preparation to the final finishing touches.

Is DIY Herringbone Wood Floor Installation a Good Idea for Beginners?
While not the simplest DIY project, a diy herringbone wood floor installation is achievable for beginners who are comfortable with basic woodworking tools and meticulous attention to detail. Careful planning and precise cuts are key. Consider starting with a smaller area, such as a small bathroom, to gain experience before tackling a larger space. Many find that the stunning results are well worth the effort.
What Subfloor Preparation is Needed for DIY Herringbone Wood Floor Installation?
Proper subfloor preparation is crucial for a successful diy herringbone wood floor installation. The subfloor must be clean, level, and dry. Remove any existing flooring, debris, and nails. Use a floor leveler to correct any imperfections or unevenness. For how to diy herringbone wood floor installation on concrete, ensure the concrete is properly sealed and moisture-tested. A stable and even subfloor will prevent issues like squeaking or warping later on.
What Tools Do I Need for a DIY Herringbone Wood Floor Installation?
Having the right tools will make your diy herringbone wood floor installation project much smoother. Here’s a list of essential tools:
- Miter saw: For precise angle cuts.
- Table saw: For ripping planks to the correct width.
- Measuring tape: Accuracy is key!
- Pencil: For marking cuts.
- Wood adhesive: Choose the best wood glue for diy herringbone floor installation.
- Spreader: For applying adhesive evenly.
- Rubber mallet: For tapping planks into place.
- Spacer blocks: To maintain consistent gaps.
- Level: To ensure the floor is even.
- Safety glasses: Protect your eyes from debris.

How to Start DIY Herringbone Wood Floor Installation
Starting correctly is essential for achieving a visually balanced diy herringbone wood floor installation. Find the center of your room and mark it with intersecting lines. This will serve as your starting point. Use a chalk line to create a straight reference line. Begin laying the herringbone pattern along this line, working outwards. This ensures the pattern is symmetrical and square.
DIY Herringbone Wood Floor Installation Pattern Layout
Understanding the diy herringbone wood floor installation pattern layout is crucial for a professional-looking result. The classic herringbone pattern involves arranging rectangular wood planks in a zig-zag formation, where each plank meets the next at a 90-degree angle. Careful planning of the pattern layout is essential to avoid odd gaps or wasted material, especially around walls and doorways. Consider using a dry layout to visualize the pattern before applying any adhesive. Some people even use CAD software to plan the layout.
What Type of Adhesive Should I Use for a DIY Herringbone Wood Floor Installation?
Selecting the right adhesive is vital for a long-lasting diy herringbone wood floor installation. Choose a high-quality wood adhesive specifically designed for flooring applications. Consider factors like the type of wood, subfloor material, and moisture levels. Many professionals recommend polyurethane adhesives for their strong bond and water resistance. Always follow the manufacturer’s instructions for application and curing time.
How Do I Cut the Wood Planks Accurately for the Herringbone Pattern?
Accurate cuts are essential for a seamless diy herringbone wood floor installation. Use a miter saw to make precise 45-degree cuts on each plank. Ensure the cuts are clean and consistent. A sharp blade will prevent splintering. Practice on scrap pieces to perfect your technique before cutting the actual flooring. Using a stop block can help ensure all cuts are identical.
DIY Herringbone Wood Floor Installation Mistakes to Avoid
Even experienced DIYers can make mistakes. Common mistakes in diy herringbone wood floor installation include:
- Not properly preparing the subfloor.
- Using the wrong adhesive.
- Inaccurate cuts.
- Failing to maintain consistent gaps.
- Not accounting for expansion and contraction.
Avoiding these mistakes will help ensure a successful and beautiful herringbone floor. As reported by DIY enthusiast blog DIY Daddy, proper planning is key to avoiding most common mistakes.

How Long Will a DIY Herringbone Wood Floor Installation Take?
The diy herringbone wood floor installation time estimate varies depending on the size of the room, your skill level, and the complexity of the layout. A small bathroom might take a weekend, while a larger living room could take several days or even a week. Be patient and don’t rush the process. Rushing can lead to mistakes and a less-than-perfect result. According to flooring experts at Wood and Beyond, careful measurement will save significant time.
How Do I Properly Sand and Finish My DIY Herringbone Wood Floor?
Once the adhesive has cured, sand the floor to create a smooth, even surface. Start with a coarse-grit sandpaper and gradually move to finer grits. Vacuum thoroughly to remove all dust. Apply a wood stain of your choice, followed by several coats of polyurethane or another protective finish. This will protect the wood and enhance its natural beauty. Ensure adequate ventilation during the finishing process.
DIY Herringbone Wood Floor Installation Cost Breakdown
The diy herringbone wood floor installation cost breakdown includes the cost of wood, adhesive, tools, and finishing materials. The cost of wood will vary depending on the type and quality. Engineered wood is often a more affordable option than solid hardwood. Budget for additional expenses like subfloor preparation materials and safety equipment. You can save money by renting tools instead of buying them. According to Remodelista, DIY installation can reduce overall costs by 50% or more, but requires careful planning.
Affordable DIY Herringbone Wood Floor Installation Options
For affordable diy herringbone wood floor installation options, consider using engineered wood or reclaimed wood. These materials are often less expensive than solid hardwood. You can also save money by shopping around for deals on adhesive and finishing materials. Another way to save is to do the demolition and subfloor preparation yourself.
FAQ: Your DIY Herringbone Wood Floor Questions Answered
What tools and materials do I need for a DIY herringbone wood floor installation?
You’ll need a miter saw, table saw, measuring tape, pencil, wood adhesive, spreader, rubber mallet, spacer blocks, level, safety glasses, wood planks, and finishing materials.
How do I prepare the subfloor before installing a herringbone wood floor?
Ensure the subfloor is clean, level, and dry. Remove any existing flooring, debris, and nails. Use a floor leveler to correct any imperfections.
How do I calculate how much wood flooring I need for a herringbone pattern?
Measure the square footage of the room and add 10-15% for waste due to cuts and pattern matching.
What’s the best way to start the herringbone pattern to ensure it’s square?
Find the center of the room and mark it with intersecting lines. Use a chalk line to create a straight reference line and begin laying the pattern along this line.
What type of adhesive should I use for a DIY herringbone wood floor installation?
Choose a high-quality wood adhesive specifically designed for flooring applications. Polyurethane adhesives are often recommended.
How do I cut the wood planks accurately for the herringbone pattern?
Use a miter saw to make precise 45-degree cuts on each plank. Ensure the cuts are clean and consistent.
How do I properly sand and finish my DIY herringbone wood floor?
Sand the floor to create a smooth, even surface. Vacuum thoroughly to remove all dust. Apply a wood stain of your choice, followed by several coats of polyurethane or another protective finish.


